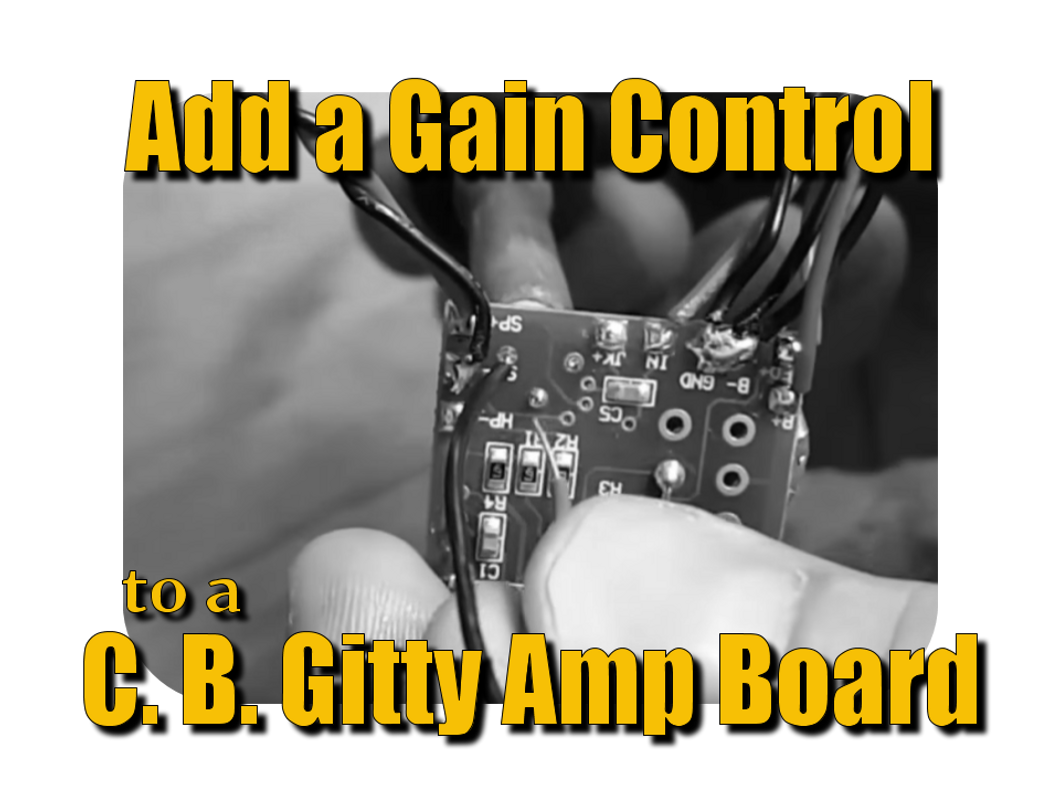
How to Add a Panel-mount Gain Control to a C. B. Gitty Amp Board
Want to upgrade your next DIY amplifier with a gain control? Looking for greater control over your cigar box guitars tone?
In this post, you'll learn how to hack a C. B. Gitty 2.5-watt amp circuit board and add a panel-mount gain control, giving you more command over your sound and style.
Why Use a Gain Control
You already know that the volume control determines how quiet or loud your amp sounds.
The gain control is different.
Installing a gain control allows you to adjust how clean or dirty the sound you get out of your amplifier is.
Think of it as a dial that governs how much of the signal goes from your cigar box guitar (CBG) to your amp board's volume control.
The more signal you allow through the gain control (by turning it up), the hotter and dirtier your CBG's sound will be.
Conversely, the further you turn the gain control down, thereby decreasing the signal from your CBG, the cooler and quieter it will sound.
Add a Gain Control in 3 Easy Steps
Adding a gain control to your C. B. Gitty amp board is a fairly simple task.
Here are the four steps it takes to upgrade your DIY amplifier:
- Pop the onboard trim potentiometer (pot) off the amp board
- Attach leads to a 10K linear-taper pot (gain control)
- Solder the other ends of the leads to the amp board.
It's as easy as that!
Watch the Video
In this video, Ben "Gitty" Baker and Glenn Watt walk you through exactly how to hack a C. B. Gitty amp board and add a gain control.
Parts Needed
Check out the short list of parts needed to upgrade your DIY amplifier:.
Tools Needed
As you can see below, you also need only a few tools for this project.
- Wire strippers
- Soldering iron and solder
- Pliers (needle-nose or similar small-point pliers)
Step-by-Step Process
What follows are screenshots of the above video explaining in detail how to upgrade your C. B. Gitty amp board with a gain control.
Step 1: Remove onboard trim pot
With a pair of pliers or wire strippers, pull off the blue plastic trim pot from the amp board.

Optional Steps:
After removing the blue, plastic trim pot there may remain a couple of the trim pot legs in the solder point locations.
While it's not necessary to remove the legs, at C. B. Gitty we take these extra optional steps.
Doing so makes room for us to insert the new leads into those solder points which makes for a solid, secure connections.
So if you're inclined, remove the trim pot legs by heating one end of each leg with your soldering iron until the solder flows.
While the solder is hot, use a pair of pliers on the other side of the amp board to pull the leg from the solder point.

The next optional step is to re-apply some solder to those same installation points from which you just pulled those trim pot legs.

Step 2: Solder leads to gain control pot
Next, solder leads to the 10K gain control pot.
With the back of the pot facing you, solder the lead designated as "negative" to the terminal on the far left (terminal #3).
Then, solder the lead designated as "positive" to the middle terminal (terminal #2.)
In these photos as in the video above, we use the black insulated wire as the "negative" and the red insulated wire as "positive."

Step 3: Solder leads to amp board
Now you can solder the free ends of the leads to the amp board.
In the photo below, you can see which solder points are for the negative and positive leads.

On one side of the amp board, use the solder iron to heat a solder point until the solder flows, and insert the appropriate lead into that point.
Hold the wire there a moment or two, until the solder cools enough to harden.
Remember, don't blow on the solder to cool it.
Cooling the solder too quickly can make for a poor solder joint.
Just hold the inserted lead in place until the solder cools, which takes only a few seconds.

And that, my friend, is it!
Your 3 easy steps away from modding your amp board to include a panel-mount gain control.
For reference, below you can see the leads from the gain pot successfully soldered into the amp board.

Conclusion
Upgrading your DIY amplifier to include a gain control is simple.
With a few parts and tools, you can use your C. B. Gitty amp board to control how clean or dirty your cigar box guitar sounds with one easily-hacked circuit.
To review, here are the parts you'll need.
And here are the tools you need to get the job done.
- Wire strippers
- Soldering iron and solder
- Pliers (needle-nose or similar small-point pliers)
Related Must-Reads
EASY PROJECT: Build This Dual Speaker Tweed Guitar Amplifier
Build a Cigar Box Distortion Unit With This Easy Hack
Guitar Amp Made From an Old Ukulele!
Cool Mods for C. B. Gitty Cigar Box Amps!
Recent Posts
-
2024 World's Wildest Electric Cigar Box Guitar Build-Off Winners!!!
C. B. Gitty Crafter Supply is proud to announce the winners of the 2024 "World's Wildest Electric Ci …31st Oct 2024 -
Improved C. B. Gitty: Easier Than Ever! (Work in Progress)
Ben “Gitty” has been cleaning house, making our website even easier find your favorite parts, kits a …7th Oct 2024 -
Build-Off Contest 2024: The World's Wildest ELECTRIC Cigar Box Guitar
CBGitty.com is looking for the WILDEST, LOUDEST & MOST DIABOLICAL electric cigar box guitar ever bui …6th Sep 2024


